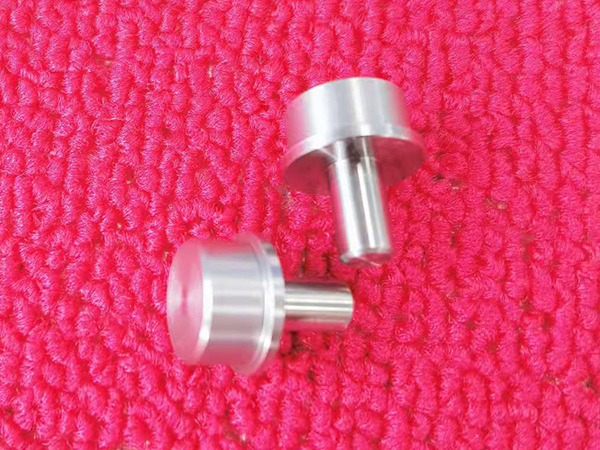
Precision parts processingMainly processing some very high precision parts. These parts are used in different application industries. The precision of precision machining will directly affect the measurement parameters. Measurement accuracy can be used according to different situations. Method to operate, so what are the measuring methods of precision parts processing accuracy?
Precision parts processing can be divided into measurement and relative measurement according to whether the reading value of the measuring instrument directly represents the value of the measured size.
Absolute measurement: The reading value directly represents the size of the dimension to be measured, as measured with a vernier caliper.
Relative measurement: The read value represents only the deviation of the measured dimension from the standard quantity. If a comparator is used to measure the diameter of the shaft, the zero position of the instrument should be adjusted by the amount block before measurement. The measured value is the difference between the diameter of the lateral axis and the size of the measuring block, and is the relative measured value. Generally speaking, the relative measurement accuracy is high, but the measurement is more troublesome.

Precision parts processing is divided into contact measurement and non-contact measurement according to whether the measured surface is in contact with the measuring head of the measuring instrument.
Contact measurement: the measuring head is in contact with the surface to be contacted, with accurate measuring force. Like measuring parts with micrometers.
Non-contact measurement: the measuring head does not contact the surface of the measured part, so the non-contact measurement can avoid the influence of measuring force on the measurement result. Such as projection method, light wave interference method.
Precision parts processing can be divided into direct measurement and indirect measurement according to whether the measurement parameters are directly measured.
Direct measurement: directly measure the measured parameters to get the measured size. For example, use calipers and comparators for measurements. Indirect measurement: measurement of geometric parameters related to the measured size, through calculation to get the measured size.
Obviously, for parts processing direct measurement is more intuitive, and indirect measurement is more troublesome. In general, when the measurement of size or direct measurement can not meet the accuracy requirements, we have to use indirect measurement.
About us
Company profileCulture EnvironmentDetectionContact usProduct Center
Medical parts processingLaser parts processing Semiconductor parts processingLithium battery accessories processing Electronic parts processing view moreApplication field
Medical device industryLaser equipment industrySemiconductor industryRobot spare parts applicationMarine spare parts industryNews center
company dynamicIndustry dynamicFAQScan the QR code
 Website QR code
 Wechat QR Code